Lemons II
Rich Lemon Curd
There are literally dozens of ways to make it, ranging from Grannie's famous "Mrs Beaton" way that makes enough to feed the population of Wales with a bit left over for the Isle of Man, to Auntie Lulu's whizzo microwave version. There just isn't a definitive way and it isn't difficult to make, so here's how I do it. All you need is a little time and patience
Ingredients - to make 4 x 400gm jars
8 x Lemons, well washed and dried
8 x Large eggs
2 x Large egg yolks
600 gm Caster sugar
500 gm Butter cubed
Method
Top and tail the lemons, then juice and zest them
Whisk the eggs and yolks, well, preferably using a stick blender.
Put the lemon juice, zest, and sugar into a heavy pan and heat slowly, until the sugar dissolves, stirring constantly with a hand whisk. Keep the syrupy mixture warm to allow the lemon flavours to infuse and extract all the flavour from the lemon zest, for not more than two or three minutes. Take great care not to caramelise the mixture!
Strain the hot zest and juice syrup through a 'chinois' or fine sieve*, into a second pan, then, stirring constantly, add the cubed butter whilst heating gently, allowing the butter to melt and homogenise. Straining ensures that the finished lemon curd is smooth and has a creamy texture.
When all the butter is melted and combined with the syrup, slowly add the egg mixture whilst continuously stirring with a whisk.
Keep the pan heated gently and continue to whisk the mixture until it begins to thicken, which might take up to ten minutes. Don't allow it to boil, it will split!
Egg mixtures begin to "set" at about 80 C, if you have a jam thermometer don't hesitate to use it and be guided by the readings, however, the "frozen saucer" test is almost as good, here's how. Sample a drop of the lemon curd and put it on to a saucer you've had in the deep freeze for five minutes or so, then return the saucer to the freezer, take it out after a couple of minutes, then put a finger on to the sample and gently push it across the saucer. If the sample "wrinkles," the lemon curd is done, if it doesn't continue to cook a little longer, then repeat the test.
Do not forget to lick the plate, it is a wicked shame to waste any of the delicious brew!
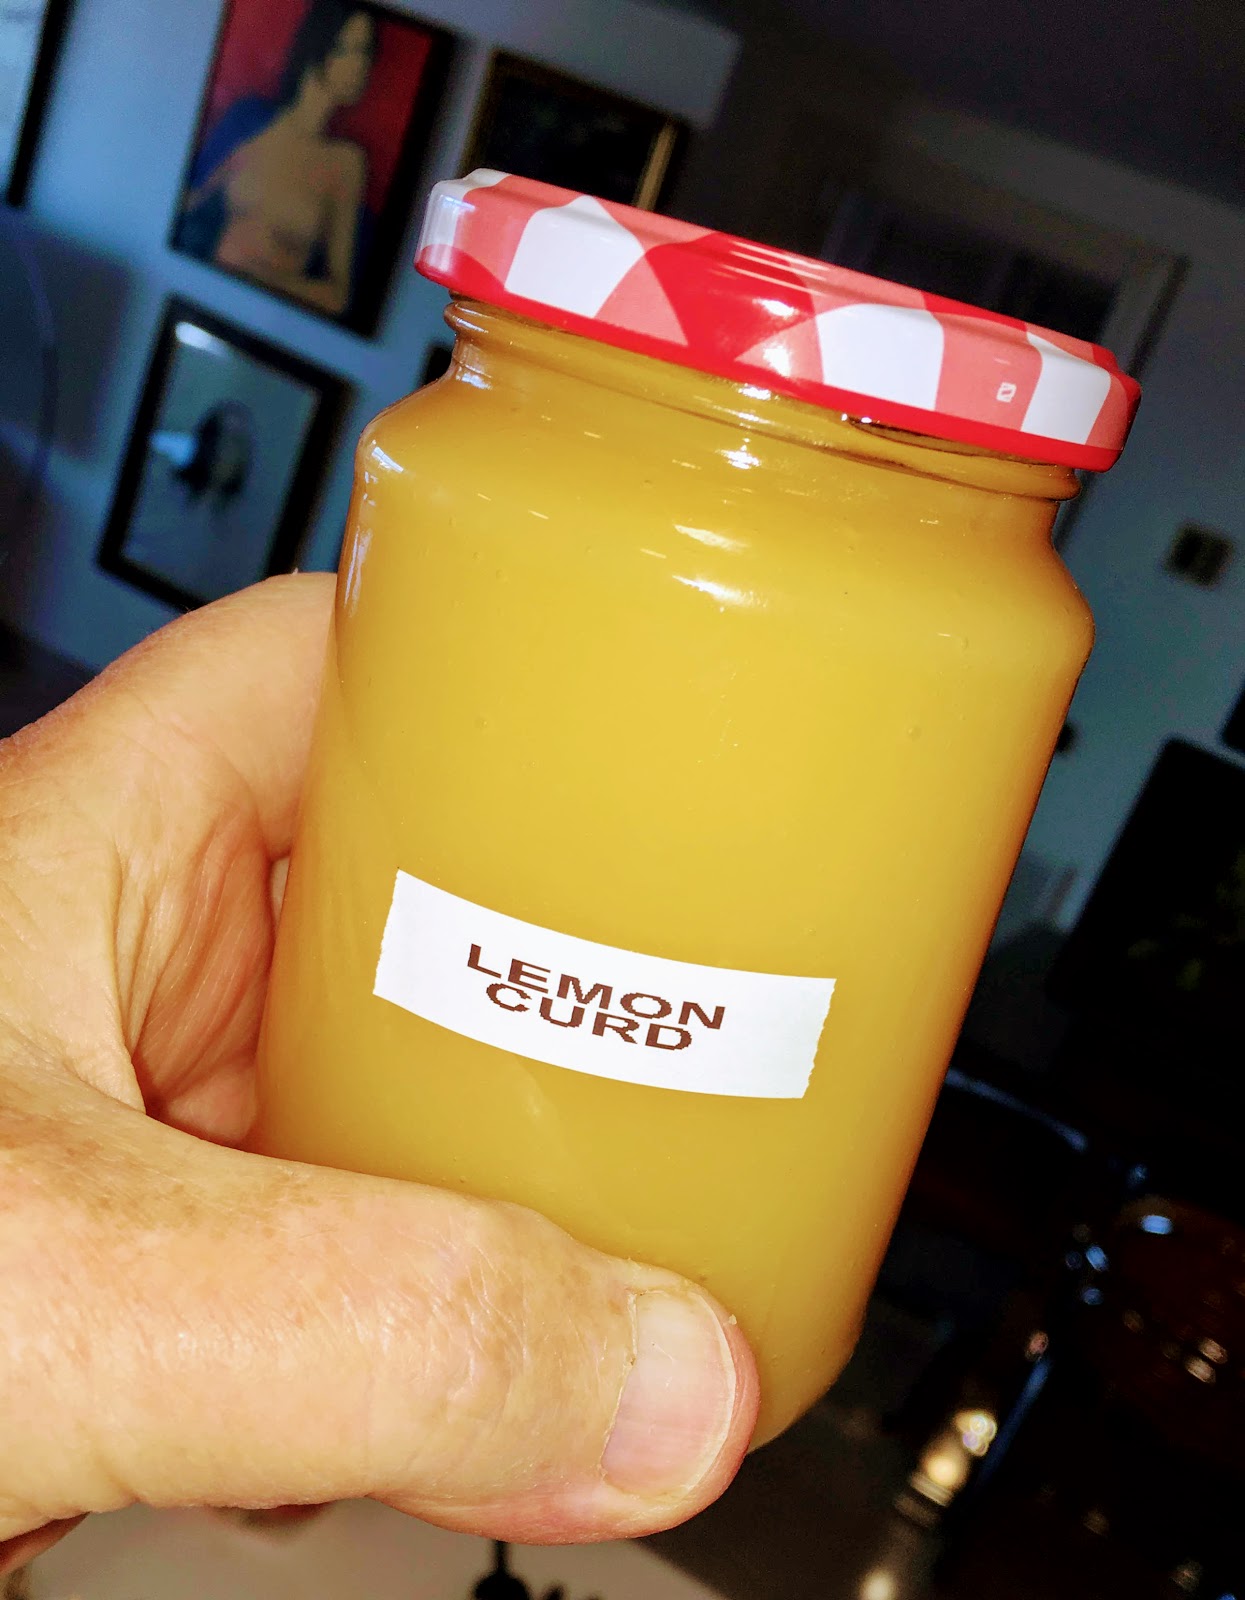
Decant the finished lemon curd into pre-prepared sterile 400gm jars and cover the surface of the curd with circles of oven parchment or ready made waxed "jam seals." Screw down the lids of the jars tightly and allow them to cool on the kitchen worktop before storing them in a cool dark place. As the jars cool, you should hear a 'pop' as they create a vacuum in the air gap at the tops of the jars between the lid and the lemon curd. This is a good sign that an airtight seal has been created.
Again once it has cooled, do not forget to lick out the pan or give it to any passing small child to spread all over its self and/or the kitchen.
* If you're frugal like me, you can keep the strained zest in a small jar, covered with a couple of good measures of vodka. I then use it to sprinkle over strawberries or other soft fruit or onto apples in pies or strudel - delicious.
No comments:
Post a Comment